Are you tired of the messy, time-consuming process of kneading dough by hand? Many home bakers dream of fresh, homemade bread, pizza, and pastries but are intimidated by the effort involved in preparing the dough. The good news is that your bread maker isn’t just for baking loaves; it’s an incredibly powerful tool for creating a wide variety of perfect doughs with minimal effort. This comprehensive guide will transform your baking experience, showing you how to harness your bread maker to produce consistently excellent dough for all your culinary creations.
Bread Maker Dough: An Overview
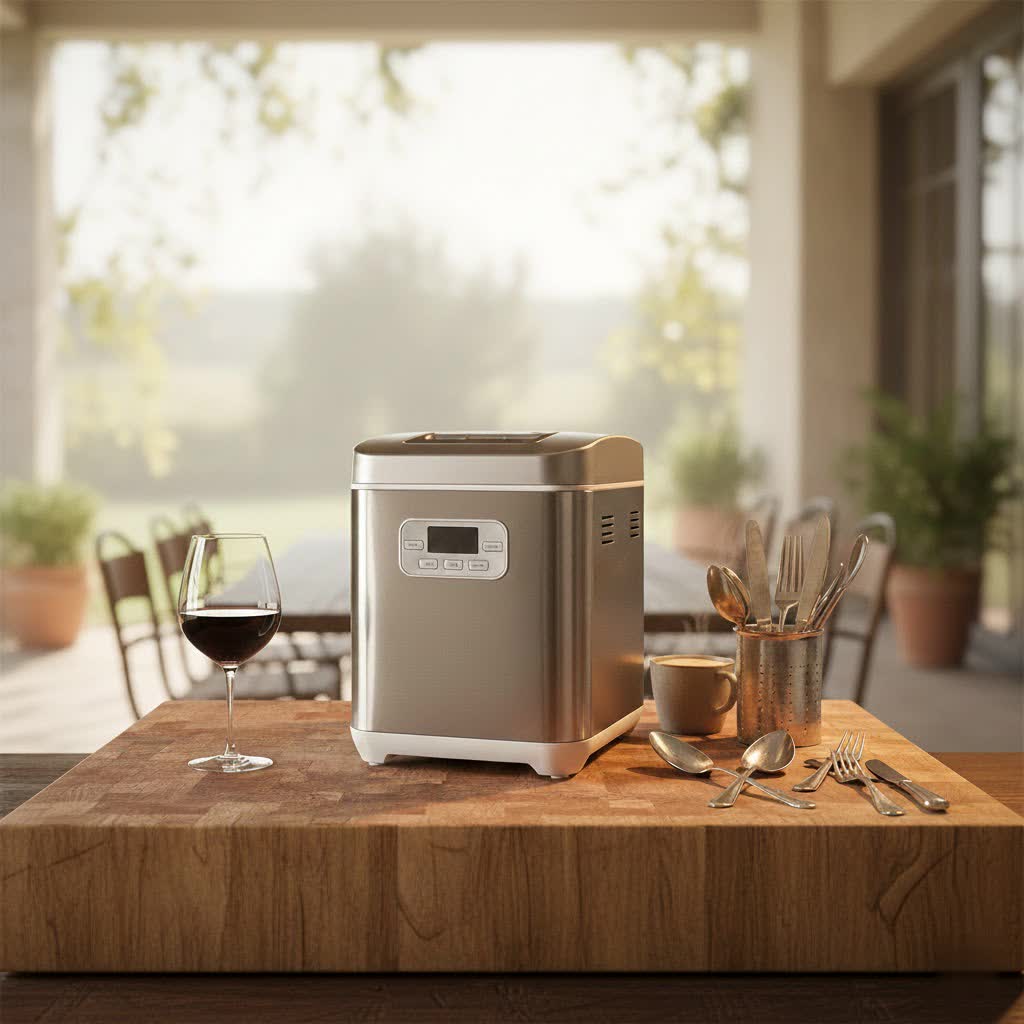
A bread maker is a versatile kitchen appliance designed to automate the process of making bread, from mixing ingredients to kneading, rising, and often baking. However, one of its most underutilized features is its “Dough” cycle. This setting handles the most laborious parts of dough making: mixing the ingredients thoroughly, kneading them to develop gluten, and allowing the dough to rise (proof) one or more times. The machine completes these steps, then signals that the dough is ready for you to remove, shape, and bake in a conventional oven, or even cook in other ways, like frying donuts. This process significantly streamlines traditional dough making, making it accessible even for beginners, and opens up a world of possibilities beyond simple bread loaves, including pizza, rolls, pretzels, and more.
Why Use Your Bread Maker for Dough?
Using your bread maker exclusively for dough offers a multitude of benefits that can enhance your baking routine and results. The primary advantage is unparalleled convenience and time-saving. With the dough cycle, you simply add your ingredients, press a button, and the machine handles all the heavy lifting – no messy countertops or tired arms from kneading. This hands-off approach frees up your time, allowing you to focus on other tasks while your dough is perfectly prepared.
Furthermore, bread makers provide consistency in kneading and proofing. They maintain an optimal temperature for yeast activation and rising, ensuring your dough achieves the ideal texture and volume every time. This consistency is invaluable for achieving professional-level results, especially for beginners who might struggle with manual kneading techniques. The contained environment also means less mess to clean up, making the entire baking process more enjoyable and less daunting.
Choosing the Right Bread Maker for Dough
Selecting the ideal bread maker is crucial for consistent dough results. While most modern bread makers come with a dough cycle, certain features make some models stand out.
Key Features for Dough Making
|
Our Picks for the Best Bread Maker in 2026
As an Amazon Associate I earn from qualifying purchases.
|
||
| Num | Product | Action |
|---|---|---|
| 1 | MERIOR 25-IN-1 Bread Maker with Visible Lid - 2lb Automatic Machine, Auto Nut Dispenser, 13-Hour Delay Timer, One-Touch Control & Recipes – Easy Operation, High Success for Homemade Bread |

|
| 2 | Neretva Bread Maker, 20-in-1 2LB Bread Machine Dual Heater & Nonstick Ceramic Pan Bread Makers Machine All Metal Compact for Gluten Free/Dough Maker/Meat Floss/Jam/Yogurt/Breadmaker Recipe-Light Green |
|
| 3 | KBS Pro 710W 2LB Bread Maker, Stainless Steel 17-in-1 Smart Bread Machine with Healthy Ceramic Pan, Automatic Nut Dispenser, Tempered Glass Touch Panel, 3 Crust Colors, 15H Timer& Keep-Warm, Recipes |
|
| 4 | 2LB Bread Maker Machine, OSIPOTO 17 in 1 Automatic Stainless Steel Bread Machine, Non-stick, Beginner-Friendly Controls, 15 Hour Timer, Easy to Clean Low Noise, High Success Rate for Homemade Bread |
|
| 5 | Elite Gourmet Programmable Bread Maker, 2 lb Loaf, 3 Sizes, 19 Presets incl. Gluten-Free, Dough & Jam, Delay Timer, Black |
|
| 6 | Cuisinart Bread Maker Machine, Stainless Steel Convection Bread Machine with 16 Menu Options, 3 Loaf Sizes Up to 2 Lb., 3 Crust Colors, Includes Measuring Cup, Spoon & Kneading Hook, CBK-210 |
|
| 7 | KBS Premium 2LB Convection Bread Maker Dual Heaters, 710W Stainless Steel 17-in-1 Bread Machine Healthy Ceramic Pan, Nut Dispenser,Touch Panel, 3 Loaf Sizes 3 Crust Colors, 15H Timer,Low Noise,Recipes |
|
| 8 | Cuisinart Bread Maker Machine, Stainless Steel Automatic Bread Machine with 12 Menu Options, 3 Loaf Sizes up to 2 Lb., 3 Crust Colors, Removable Nonstick Baking Pan & Kneading Paddle, CBK-110NAS |
|
| 9 | KITCHENARM 29-in-1 SMART Bread Machine with Gluten Free Setting 2LB 1.5LB 1LB Bread Maker Machine with Homemade Cycle - Stainless Steel Breadmaker with Recipes Whole Wheat Bread Making Machine |
|
| 10 | Neretva Bread Maker, 20-IN-1 2LB Bread Machine Dual Heater Bread Maker Machine Automatic with Nonstick Ceramic Pan, 15H Timer & 1H Keep Warm Set, Low Noise, Stainless Steel Breadmaker Recipe-Green |
|
When primarily using your bread maker for dough, look for specific functionalities. A dedicated “Dough” cycle is non-negotiable, as it’s programmed for optimal kneading and rising times without baking. Capacity is another vital consideration; a larger machine allows you to prepare bigger batches of dough, perfect for family-sized pizzas or multiple loaves of bread. Some advanced models offer programmable settings, enabling you to customize kneading and proofing times for specific dough types, like sourdough or gluten-free recipes. Finally, a reliable and powerful motor is essential for thoroughly kneading stiff doughs without overworking the machine, ensuring longevity and consistent performance.
Top Bread Maker Brands for Dough
Several brands are renowned for producing bread makers with excellent dough cycles. Zojirushi is often praised for its robust motors and consistent results, particularly with dense doughs. Panasonic models are also highly regarded for their precise temperature control and quiet operation, leading to beautifully risen doughs. Cuisinart offers a range of bread makers that are user-friendly and deliver reliable performance for various dough types. While other brands also offer good options, these three frequently receive high marks from bakers focusing on dough making due to their durability and specialized features.
Popular Bread Maker Dough Recipes
The versatility of your bread maker’s dough cycle allows you to create an impressive array of doughs beyond standard sandwich bread.
Classic White Bread Dough
A fundamental recipe, white bread dough is perfect for beginners. Typically, it involves flour, water, yeast, sugar, salt, and a little oil or butter. The bread maker kneads it to a smooth, elastic consistency, then allows it to rise until doubled in size, ready for shaping into loaves, rolls, or even dinner knots.
Whole Wheat & Multigrain Dough
For a healthier option, whole wheat and multigrain doughs are excellent. These often require a longer kneading time due to the higher fiber content, which your bread maker handles effortlessly. Incorporating various grains or seeds can add texture and nutritional value, perfect for hearty sandwiches or rustic loaves.
Versatile Pizza Dough
Homemade pizza is a game-changer, and your bread maker makes it simple. Pizza dough typically uses a lean dough recipe with olive oil for flavor and elasticity. After the dough cycle, it’s easy to stretch into thin or thick crusts, ready for your favorite toppings and a hot oven.
Sweet Dough for Rolls and Pastries
Indulge your sweet tooth with soft, enriched doughs. Recipes for cinnamon rolls, brioche, or sweet dinner rolls often include eggs, milk, sugar, and butter, yielding a tender crumb. The bread maker expertly kneads these sticky doughs, providing a perfect foundation for delightful treats.
Gluten-Free Dough Considerations
Working with gluten-free flours in a bread maker for dough requires specific considerations. Gluten-free doughs don’t develop gluten, so they tend to be stickier and less elastic. Bread makers can mix these delicate doughs effectively, but often require specific recipes designed for gluten-free ingredients and sometimes a slightly adjusted dough cycle length to prevent overmixing.
Mastering Your Bread Maker’s Dough Cycle
Achieving perfect dough consistently involves a few key steps and tips that ensure optimal results every time.
Essential Ingredients & Measuring Tips
Precision is paramount in baking. Always use fresh ingredients, especially yeast, which is crucial for rising. Measure your ingredients accurately, preferably by weight for flour, using a kitchen scale. Ensure liquids are at the correct temperature—lukewarm water (around 105-115°F or 40-46°C) is ideal for activating yeast. Add ingredients in the order specified by your recipe, which usually means liquids first, then dry ingredients, with yeast added last, on top of the flour, away from salt and sugar initially.
Step-by-Step Dough Cycle Usage
- Add Ingredients: Following your recipe’s order, carefully place all ingredients into the bread maker pan.
- Select Cycle: Choose the “Dough” or “Dough Only” setting on your machine.
- Start Machine: Press the start button and allow the machine to complete its cycle. This typically involves a mixing phase, a kneading phase, and one or more rising (proofing) phases.
- Monitor Dough (Optional but Recommended): About 5-10 minutes into the kneading cycle, check the dough’s consistency. It should form a smooth, elastic ball.
Tips for Perfect Dough Consistency
The ideal dough should be slightly tacky but not sticky enough to cling to your fingers. If the dough appears too dry, add a teaspoon of liquid at a time until it reaches the right consistency. If it’s too sticky, add a teaspoon of flour. Make these adjustments slowly, as a small amount can make a big difference. Resist the urge to open the lid frequently during the rising phase, as this can disrupt the temperature and affect the rise.
After the Cycle: Shaping & Baking
Once the dough cycle is complete, carefully remove the dough from the bread maker pan. Lightly flour your work surface and your hands, then gently punch down the dough to release air. Now, it’s ready for shaping! Whether you’re making pizza, rolls, or a braided loaf, follow your chosen recipe for specific shaping instructions. Finally, bake your creation in a preheated conventional oven according to the recipe’s temperature and time guidelines.
Troubleshooting Common Bread Maker Dough Issues
Even with a bread maker, occasional issues can arise. Here’s how to address them:
- Dough too sticky or too dry: This is usually a hydration issue. If too sticky, add flour (1 tsp at a time). If too dry, add liquid (1 tsp at a time). Adjust during the first 5-10 minutes of the kneading cycle.
- Dough not rising adequately: Check your yeast’s freshness. Expired yeast is a common culprit. Ensure your liquid temperature isn’t too hot (killing the yeast) or too cold (slowing it down). Also, ensure you haven’t added too much salt, which can inhibit yeast activity.
- Inconsistent results: Measure accurately! Using a kitchen scale for flour is highly recommended. Also, ambient room temperature can affect rising, so try to keep your kitchen at a consistent temperature.
- Over-kneading/Under-kneading signs: Under-kneaded dough will be shaggy and not hold its shape. Over-kneaded dough can become tough and tear easily; typically, bread makers are designed to prevent this in standard cycles, but custom cycles could lead to it.
Where to Find More Bread Maker Dough Inspiration
The world of bread maker dough is vast and exciting. Explore new recipes and techniques by consulting dedicated bread maker cookbooks, which often include sections specifically for dough cycles. Online communities and forums for home bakers are fantastic resources for sharing tips, troubleshooting, and discovering unique recipes. Manufacturer websites also frequently offer tested recipes tailored to their specific machines. Don’t be afraid to adapt your favorite traditional dough recipes to your bread maker; with a little experimentation, most can be successfully converted, opening up endless creative possibilities in your kitchen.
Question and Answer
What is the primary purpose of the “Dough” cycle on a bread maker?
The “Dough” cycle on a bread maker is designed to automate the initial steps of dough preparation: mixing ingredients, kneading them thoroughly to develop gluten, and allowing the dough to rise (proof) in a temperature-controlled environment. Unlike a full bread cycle, it stops before the baking phase, leaving you with perfectly prepared dough ready for shaping and baking in a conventional oven or other cooking methods.
Can I use any bread recipe for the dough cycle in my bread maker?
Generally, yes, most standard bread and dough recipes can be adapted for the bread maker’s dough cycle. You’ll simply follow the recipe for ingredient ratios but let the machine handle the mixing, kneading, and first rise. Always ensure ingredient order is appropriate for your specific bread maker model, typically liquids first, then dry ingredients, with yeast placed on top of the flour.
How do I know my bread maker dough is kneaded enough?
During the kneading cycle (typically 5-10 minutes in), observe the dough. It should form a smooth, elastic ball that cleans the sides of the pan. It should be slightly tacky to the touch but not stick excessively to your fingers. If it appears too sticky, add a teaspoon of flour; if too dry or shaggy, add a teaspoon of liquid.
What should I do if my bread maker dough is too sticky after the cycle?
If your dough is too sticky after the cycle, it likely has too much liquid or not enough flour. You can gently knead in a small amount of extra flour on a lightly floured surface until it reaches the desired non-sticky consistency. For future batches, slightly reduce the liquid or increase the flour by a tablespoon or two.
Can I leave dough in the bread maker overnight after the dough cycle finishes?
It’s generally not recommended to leave dough in the bread maker overnight after the cycle finishes, as it can over-proof and collapse. If you need to delay baking, it’s best to remove the dough, punch it down, and store it in an oiled, covered bowl in the refrigerator. This slows down the yeast activity, allowing you to bake it the next day.
