Embarking on the journey of homemade rye bread offers a uniquely satisfying experience, especially when simplified by a bread machine. Imagine slicing into a warm, fragrant loaf, its hearty texture and distinct flavor a perfect accompaniment to any meal. Whether you crave a light rye for delicate sandwiches or a robust, dark pumpernickel, your bread machine can transform humble ingredients into a masterpiece. This guide will walk you through everything you need to know about crafting delicious rye bread with minimal effort, from selecting the right flour to troubleshooting common issues, ensuring every loaf is a resounding success.
Understanding the Bread Machine: A Culinary Marvel
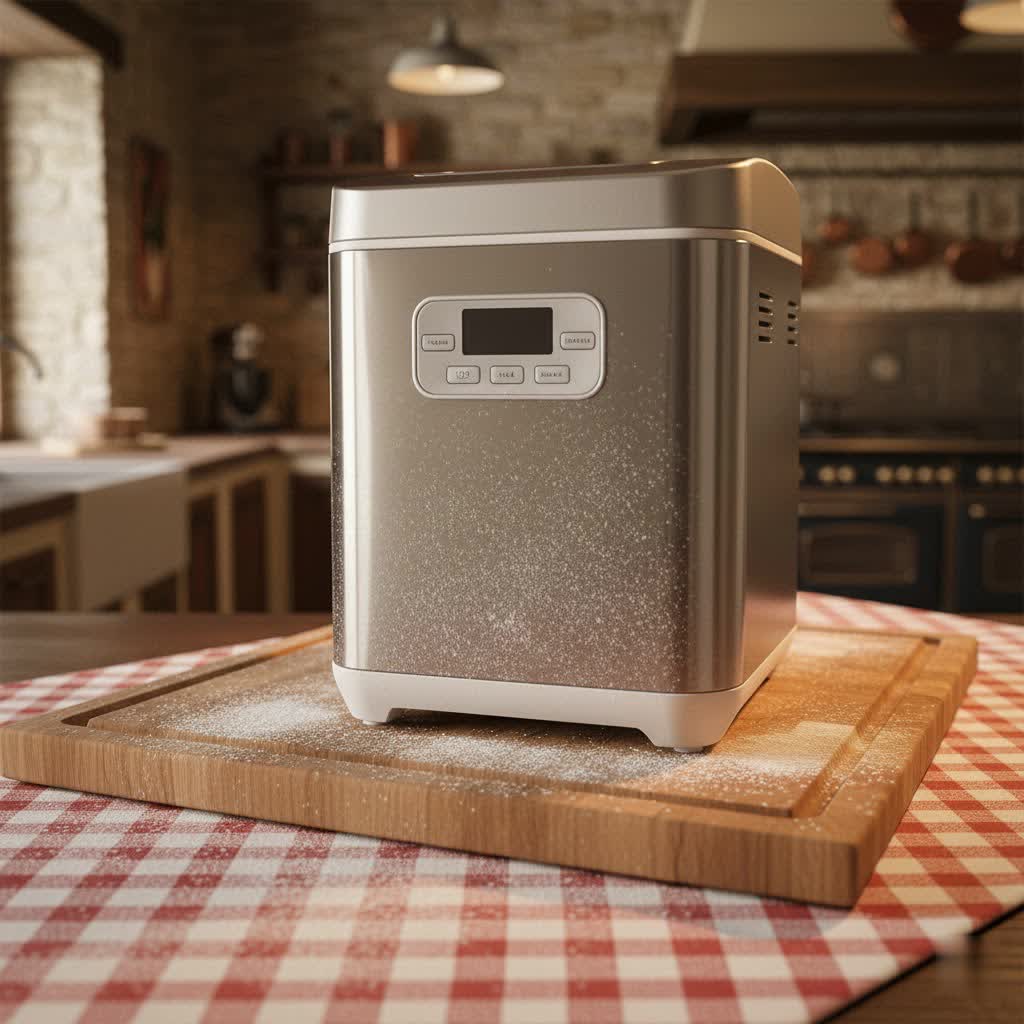
A bread machine is an automated kitchen appliance designed to mix, knead, rise, and bake bread with little to no human intervention. Its convenience makes homemade bread accessible to everyone, from novice bakers to seasoned enthusiasts. The history of bread machines dates back to the mid-1980s, evolving from simple models to sophisticated devices offering a myriad of settings and features.
Modern bread machines come in various types, each catering to different baking needs. Some feature multiple loaf sizes, custom cycles, and even automatic dispensers for ingredients like nuts and seeds. They simplify the complex process of bread making, allowing you to enjoy fresh, aromatic loaves with minimal hands-on time.
Why Choose a Bread Machine for Rye Bread?
Opting for a bread machine to make rye bread comes with a host of advantages:
- Convenience and Time-Saving: The machine handles all the laborious steps—mixing, kneading, and proofing—freeing up your time. Simply add ingredients, select a program, and let the machine do the work.
- Customization and Control: You have complete control over ingredients, allowing you to choose organic flours, adjust salt and sugar levels, and experiment with different additions like caraway seeds or dried onions. This ensures your bread meets your dietary preferences and taste.
- Food Safety and Freshness: Baking at home guarantees you know exactly what goes into your bread, avoiding preservatives and artificial additives. Plus, there’s nothing quite like the aroma and taste of a freshly baked loaf.
- Perfectly Baked Loaves: Bread machines maintain consistent temperatures and timing, crucial for the unique properties of rye dough. This precision often leads to a consistently well-baked loaf.
Your Guide to Choosing the Right Bread Machine
Selecting a bread machine can seem daunting with the array of options available. Consider these factors to find your perfect match:
Defining Your Baking Needs
Before diving into features, assess your primary requirements:
- Family Size or Solo Baking? Machines offer different loaf capacities, typically ranging from 1 to 2.5 pounds. A larger family might benefit from a 2-pound machine, while smaller households could opt for a 1-pound model.
- Rye Bread Specifics: If rye bread is your focus, look for models with a “Rye Bread” or “Whole Wheat” setting, as these cycles are often longer and better suited for denser rye flours.
- Budget Considerations: Bread machines vary widely in price, from entry-level models to high-end appliances with advanced features. Determine your budget to narrow down choices effectively.
|
Our Picks for the Best Bread Maker in 2026
As an Amazon Associate I earn from qualifying purchases.
|
||
| Num | Product | Action |
|---|---|---|
| 1 | Neretva Bread Maker, 20-IN-1 2LB Bread Machine Dual Heater Bread Maker Machine Automatic with Nonstick Ceramic Pan, 15H Timer & 1H Keep Warm Set, Low Noise, Stainless Steel Breadmaker Recipe-Green |

|
| 2 | KBS Premium 2LB Convection Bread Maker Dual Heaters, 710W Stainless Steel 17-in-1 Bread Machine Healthy Ceramic Pan, Nut Dispenser,Touch Panel, 3 Loaf Sizes 3 Crust Colors, 15H Timer,Low Noise,Recipes |
|
| 3 | Neretva Bread Maker, 20-in-1 2LB Bread Machine Dual Heater & Nonstick Ceramic Pan Bread Makers Machine All Metal Compact for Gluten Free/Dough Maker/Meat Floss/Jam/Yogurt/Breadmaker Recipe-Light Green |
|
| 4 | KITCHENARM 29-in-1 SMART Bread Machine with Gluten Free Setting 2LB 1.5LB 1LB Bread Maker Machine with Homemade Cycle - Stainless Steel Breadmaker with Recipes Whole Wheat Bread Making Machine |
|
| 5 | Cuisinart Bread Maker Machine, Stainless Steel Automatic Bread Machine with 12 Menu Options, 3 Loaf Sizes up to 2 Lb., 3 Crust Colors, Removable Nonstick Baking Pan & Kneading Paddle, CBK-110NAS |
|
| 6 | Elite Gourmet Programmable Bread Maker, 2 lb Loaf, 3 Sizes, 19 Presets incl. Gluten-Free, Dough & Jam, Delay Timer, Black |
|
| 7 | KBS Pro 710W 2LB Bread Maker, Stainless Steel 17-in-1 Smart Bread Machine with Healthy Ceramic Pan, Automatic Nut Dispenser, Tempered Glass Touch Panel, 3 Crust Colors, 15H Timer& Keep-Warm, Recipes |
|
| 8 | 2LB Bread Maker Machine, OSIPOTO 17 in 1 Automatic Stainless Steel Bread Machine, Non-stick, Beginner-Friendly Controls, 15 Hour Timer, Easy to Clean Low Noise, High Success Rate for Homemade Bread |
|
| 9 | Cuisinart Bread Maker Machine, Stainless Steel Convection Bread Machine with 16 Menu Options, 3 Loaf Sizes Up to 2 Lb., 3 Crust Colors, Includes Measuring Cup, Spoon & Kneading Hook, CBK-210 |
|
| 10 | MERIOR 25-IN-1 Bread Maker with Visible Lid - 2lb Automatic Machine, Auto Nut Dispenser, 13-Hour Delay Timer, One-Touch Control & Recipes – Easy Operation, High Success for Homemade Bread |
|
Essential Features to Look For
Focus on features that enhance your bread-making experience:
- Capacity and Size: Ensure the machine fits your counter space and produces loaf sizes appropriate for your consumption.
- Programs and Settings: A good bread machine offers a variety of programs, including basic, whole wheat, dough, rapid bake, and specific rye settings. A “dark crust” option is also beneficial for rye bread.
- Delay Timer and Keep Warm Function: A delay timer allows you to wake up to fresh bread, while a keep-warm function maintains its temperature after baking.
- Material and Durability: Look for sturdy construction and non-stick bread pans for easy removal and cleaning. Stainless steel exteriors often indicate better durability.
- Ease of Cleaning: Removable bread pans and kneading paddles make cleanup much simpler.
Reputable Bread Machine Brands
Several brands consistently receive high marks for quality and performance. While specific models change, brands like Panasonic, Zojirushi, and Breville are often praised for their reliability and advanced features, particularly for specialty breads like rye. Evaluate user reviews and model-specific features to find the best fit within these trusted names.
Comparing Popular Bread Machine Models for Rye Bread
When it comes to baking rye bread, certain bread machines excel due to their specific settings and robust performance. While a comprehensive table would compare exact models, generally, machines like the Zojirushi Home Bakery Virtuoso Plus are highly regarded for their ability to handle dense doughs and produce excellent results with whole grain and rye flours. Other dependable brands often feature a “Whole Wheat” or dedicated “Rye” cycle, which is crucial for the extended kneading and rising times rye bread requires. Prioritize machines with strong motors, consistent temperature control, and flexible programming options for the best rye bread outcomes.
Mastering Your Bread Machine: A Step-by-Step Guide for Rye Bread
Baking rye bread in a bread machine is straightforward, but understanding the nuances can elevate your results.
Essential Preparations Before Baking
- Gather Ingredients: Ensure all ingredients are at room temperature unless specified otherwise. Warm water (around 100-110°F or 38-43°C) is crucial for activating yeast.
- Accurate Measurement: Precision is key in bread making. Use proper measuring cups and spoons, leveling off dry ingredients. Weighing ingredients with a kitchen scale provides the most consistent results.
- Ingredient Order: Most bread machines require liquids first, followed by dry ingredients, with yeast placed last, typically in a small well on top of the flour, away from liquid and salt until mixing begins. This prevents premature yeast activation.
Selecting and Measuring Ingredients for Rye Bread
Rye bread often uses a blend of flours to achieve its characteristic texture and rise.
- Rye Flour: Available in light, medium, dark, and pumpernickel. Light rye has a milder flavor and less bran, resulting in a lighter bread. Dark or whole rye flour contains more bran and germ, offering a stronger flavor and denser texture. Because rye flour has less gluten than wheat flour, it’s often combined with bread flour for better structure.
- Bread Flour: High in gluten, bread flour provides the necessary structure and elasticity for rye bread to rise well.
- Sweeteners: Molasses or brown sugar are common additions, providing a rich color and depth of flavor that complements rye.
- Fats: Oil or butter contributes to a tender crumb and helps the crust brown.
- Salt: Essential for flavor and controlling yeast activity.
- Yeast: Use instant yeast or bread machine yeast. Active dry yeast may require pre-activation.
Setting the Program and Timer
- Rye or Whole Wheat Setting: Select the “Rye Bread” program if your machine has one. Otherwise, the “Whole Wheat” setting is a good alternative as it typically has longer kneading and rising cycles suitable for denser flours. The “Basic/White” setting might also work for lighter rye recipes.
- Crust Color: Choose your desired crust color (light, medium, dark).
- Loaf Size: Select the appropriate loaf size (e.g., 1.5 lb or 2 lb) corresponding to your recipe.
- Delay Start: If you wish to have fresh bread later, use the delay timer, but be mindful of perishable ingredients.
Expert Tips for Perfect Rye Bread
- Dough Consistency: Rye dough can be stickier than wheat dough. Check the dough during the first kneading cycle (usually after 5-10 minutes). It should form a soft, tacky ball. If it’s too dry, add water one tablespoon at a time; if too wet, add flour.
- Caraway Seeds: For a classic deli-style rye, include caraway seeds. Adjust the amount to your preference or omit them if you’re not a fan.
- Kneading Paddle Removal: For a cleaner bottom to your loaf, remove the kneading paddle after the last punch-down cycle, just before the final rise. You can gently reshape the dough if needed.
- Cooling is Crucial: Once baked, promptly remove the bread from the machine and place it on a wire cooling rack. Allow it to cool completely (1-2 hours) before slicing. This prevents a gummy texture and allows the internal structure to set.
- Storage: Store cooled rye bread in a sealed plastic bag at room temperature for 2-3 days, or freeze for longer storage.
Cleaning and Maintenance
Regular cleaning ensures your bread machine lasts longer and performs optimally. Always unplug the machine before cleaning. Wipe the interior with a damp cloth, and clean the bread pan and kneading paddle with warm, soapy water. Avoid abrasive cleaners that could damage the non-stick coating.
Delicious Rye Bread Recipes for Your Bread Machine
Here are some versatile recipes to get you started, perfect for your bread machine.
Basic Bread Machine Light Rye Bread
This recipe yields a soft, flavorful loaf, ideal for everyday sandwiches.
-
Ingredients (for a 1.5 lb loaf):
- 1 1/8 cups warm water
- 1 1/2 tablespoons honey or brown sugar
- 2 tablespoons olive oil or unsalted butter
- 1 cup light rye flour
- 2 cups bread flour
- 1 1/4 teaspoons salt
- 1 1/4 teaspoons instant yeast
- Optional: 1 tablespoon caraway seeds
-
Instructions:
- Add ingredients to the bread pan in the order recommended by your machine (liquids first, then dry, yeast last).
- Select the “Basic/White” or “Light Rye” setting (if available), 1.5 lb loaf, and desired crust color.
- Start the machine and let it complete the cycle.
- Remove bread immediately after baking and cool on a wire rack for 1-2 hours before slicing.
Hearty Dark Rye Bread
For a deeper flavor and denser crumb, try this dark rye recipe.
-
Ingredients (for a 2 lb loaf):
- 1 1/4 cups warm water
- 2 tablespoons unsulfured molasses
- 2 tablespoons brown sugar (packed)
- 2 tablespoons vegetable oil
- 1 teaspoon coarse kosher salt
- 1 1/2 cups bread flour
- 1 cup dark rye flour
- 3/4 cup whole wheat flour
- 1 tablespoon caraway seeds
- 2 teaspoons instant yeast
- Optional: Margarine or butter for brushing crust
-
Instructions:
- Combine liquid ingredients (water, molasses, brown sugar, oil, salt) in the bread pan.
- Layer dry ingredients over the liquids: bread flour, dark rye flour, whole wheat flour, caraway seeds, and finally, yeast. Gently shake the flour to cover the water and keep yeast separate until mixing.
- Place the pan in the bread machine. Select “Whole Wheat” cycle, “Dark Crust,” and 2 lb loaf option. If your machine lacks these specific settings, the “Whole Wheat” setting is generally sufficient.
- Allow the machine to complete its cycle.
- Once done, remove the bread pan, overturn the loaf onto a cooling rack, and brush the top with softened butter or margarine for a softer, visually appealing crust.
- Cool completely before slicing.
Special Rye Bread Variations
- Pumpernickel Bread: Often uses pumpernickel rye meal (coarsely ground whole rye) and might include ingredients like cocoa powder or coffee for a richer color and flavor. Some recipes might use the dough cycle in the bread machine, followed by oven baking.
- Deli-Style Rye with Onion Flakes: Add 1-2 tablespoons of dried onion flakes to your light or medium rye recipe for a savory, aromatic twist.
- Rye Swirl Bread: For a marbled effect, you can prepare two different rye doughs (one lighter, one darker, perhaps with a touch of cocoa) using the dough cycle. Then, twist them together before baking in the oven.
Troubleshooting Common Bread Machine Rye Bread Issues
Even with the best recipes, sometimes things go awry. Here’s how to tackle common problems:
-
Bread Not Rising Enough:
- Issue: Old or inactive yeast.
- Solution: Ensure your yeast is fresh and stored correctly. Check the expiration date.
- Issue: Water temperature too hot or too cold.
- Solution: Use warm water (100-110°F or 38-43°C) to activate yeast effectively.
- Issue: Too much salt or sugar.
- Solution: Measure carefully, as these can inhibit yeast growth.
- Issue: Too much rye flour, not enough bread flour.
- Solution: Rye flour has low gluten. Ensure a good ratio with high-gluten bread flour for better rise.
-
Bread Too Dense:
- Issue: Insufficient liquid or too much flour.
- Solution: Rye flour absorbs more liquid. Adjust water or flour a tablespoon at a time during kneading.
- Issue: Not enough yeast or poor yeast quality.
- Solution: Use fresh, active yeast.
-
Bread Collapses in the Middle:
- Issue: Too much liquid or too much yeast.
- Solution: Slightly reduce liquid or yeast in your next batch.
- Issue: High humidity.
- Solution: Adjust liquid slightly downward on humid days.
-
Uneven Texture or Dry Spots:
- Issue: Ingredients not mixed properly.
- Solution: Ensure ingredients are added in the correct order and the machine’s kneading cycle is sufficient.
Where to Purchase Your Next Bread Machine
Finding a quality bread machine is easier than ever with various retail options available:
- Major Appliance Stores: Retailers like Best Buy, Target, and Walmart often carry a selection of bread machines, allowing you to see models in person.
- Online Retailers: Amazon, Zojirushi’s official website, and other e-commerce sites offer a vast selection, often with competitive pricing and detailed customer reviews.
- Specialty Kitchen Stores: Stores focusing on baking supplies might offer higher-end models and expert advice.
Key Considerations When Buying
- Budget: Prices range widely. Determine what features are essential for you versus what are nice-to-haves.
- Read Reviews: Customer reviews provide invaluable insights into a machine’s performance, durability, and common issues. Look for feedback specifically from users making rye or whole grain breads.
- Warranty and Return Policy: Always check the manufacturer’s warranty and the retailer’s return policy for peace of mind.
Conclusion
Baking rye bread in a bread machine is a rewarding experience, bringing the hearty, distinctive flavors of this classic bread directly to your kitchen. With the right machine, quality ingredients, and a few expert tips, you can effortlessly create loaves that rival those from artisanal bakeries. Embrace the convenience and satisfaction of homemade rye, perfect for sandwiches, toast, or simply enjoyed with a pat of butter. What delicious rye creation will you bake first?
