Imagine the aroma of freshly baked naan wafting through your kitchen, warm and pillowy soft, ready to accompany your favorite meal. For many, this culinary delight seems exclusive to Indian restaurants or complex traditional methods. But what if you could achieve authentic, delicious naan right in your own home, with the help of a humble bread maker? This guide will show you how your bread machine can be a game-changer for homemade naan, simplifying the dough-making process and bringing this versatile flatbread to your table with surprising ease.
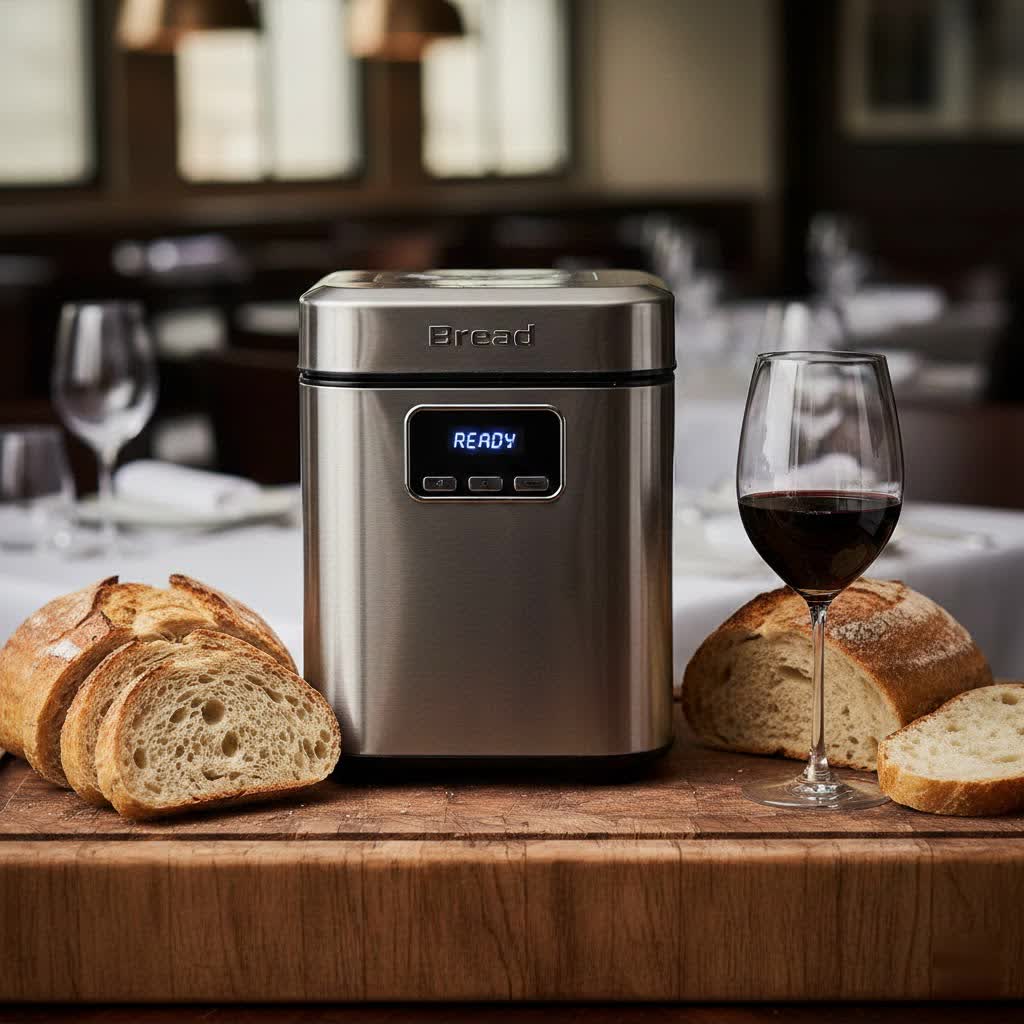
The Naan Bread Machine Revolution
Naan, a soft, leavened flatbread, holds a cherished place in various cuisines, particularly across the Indian subcontinent and parts of Western Asia. Traditionally, it’s baked in a tandoor, a cylindrical clay oven that provides intense, direct heat, resulting in its characteristic puffy texture and subtle char. While a tandoor might not be a standard kitchen appliance, the modern bread maker offers an incredible shortcut for one of the most labor-intensive parts of naan preparation: the dough.
Your bread machine becomes an invaluable assistant by taking over the mixing and kneading, and often the first rise, of the naan dough. This saves significant time and effort, ensuring a consistently well-kneaded, soft dough—the foundation of excellent naan—without you having to break a sweat. It’s important to remember that the bread machine handles the dough cycle, not the actual baking. The magic happens afterward on your stovetop or in a hot oven, where the dough transforms into the fluffy naan we all adore.
Essential Ingredients for Perfect Bread Machine Naan
Creating the ideal naan dough in your bread machine starts with a few key ingredients. Each component plays a vital role in achieving that signature taste and texture.
- Flour: While all-purpose flour works well, bread flour can offer a slightly chewier texture due to its higher protein content. Using a digital food scale to measure flour ensures accuracy, which is crucial for dough consistency.
- Yeast: Most recipes call for active dry yeast or bread machine yeast (instant yeast). If using active dry yeast, some recipes suggest proofing it first, but bread machine yeast can typically be added directly. Ensure your yeast is fresh for proper rising.
- Dairy: Plain yogurt is a cornerstone ingredient, lending tenderness, moisture, and a subtle tang to the naan. Opt for unflavored plain yogurt, avoiding Greek yogurt as its thickness can alter the dough consistency. Warm milk also contributes to the dough’s softness and activates the yeast.
- Fats: A neutral-flavored oil like canola or olive oil, or softened unsalted butter, adds richness and helps keep the naan pliable.
- Sweetener and Salt: A touch of sugar helps activate the yeast and contributes to browning, while salt balances the flavors. Be precise with your measurements.
- Other Ingredients: Some recipes include an egg for added richness and tenderness, or a small amount of baking powder to further enhance the naan’s airy quality.
Step-by-Step Guide: Making Naan Dough in Your Bread Maker
Using your bread machine for naan dough is incredibly straightforward, transforming a potentially messy task into a hands-off process.
Preparing Your Bread Machine
|
Our Picks for the Best Bread Maker in 2026
As an Amazon Associate I earn from qualifying purchases.
|
||
| Num | Product | Action |
|---|---|---|
| 1 | Neretva Bread Maker, 20-IN-1 2LB Bread Machine Dual Heater Bread Maker Machine Automatic with Nonstick Ceramic Pan, 15H Timer & 1H Keep Warm Set, Low Noise, Stainless Steel Breadmaker Recipe-Green |

|
| 2 | Cuisinart Bread Maker Machine, Stainless Steel Automatic Bread Machine with 12 Menu Options, 3 Loaf Sizes up to 2 Lb., 3 Crust Colors, Removable Nonstick Baking Pan & Kneading Paddle, CBK-110NAS |
|
| 3 | KBS Pro 710W 2LB Bread Maker, Stainless Steel 17-in-1 Smart Bread Machine with Healthy Ceramic Pan, Automatic Nut Dispenser, Tempered Glass Touch Panel, 3 Crust Colors, 15H Timer& Keep-Warm, Recipes |
|
| 4 | Cuisinart Bread Maker Machine, Stainless Steel Convection Bread Machine with 16 Menu Options, 3 Loaf Sizes Up to 2 Lb., 3 Crust Colors, Includes Measuring Cup, Spoon & Kneading Hook, CBK-210 |
|
| 5 | MERIOR 25-IN-1 Bread Maker with Visible Lid - 2lb Automatic Machine, Auto Nut Dispenser, 13-Hour Delay Timer, One-Touch Control & Recipes – Easy Operation, High Success for Homemade Bread |
|
| 6 | KBS Premium 2LB Convection Bread Maker Dual Heaters, 710W Stainless Steel 17-in-1 Bread Machine Healthy Ceramic Pan, Nut Dispenser,Touch Panel, 3 Loaf Sizes 3 Crust Colors, 15H Timer,Low Noise,Recipes |
|
| 7 | Neretva Bread Maker, 20-in-1 2LB Bread Machine Dual Heater & Nonstick Ceramic Pan Bread Makers Machine All Metal Compact for Gluten Free/Dough Maker/Meat Floss/Jam/Yogurt/Breadmaker Recipe-Light Green |
|
| 8 | Elite Gourmet Programmable Bread Maker, 2 lb Loaf, 3 Sizes, 19 Presets incl. Gluten-Free, Dough & Jam, Delay Timer, Black |
|
| 9 | KITCHENARM 29-in-1 SMART Bread Machine with Gluten Free Setting 2LB 1.5LB 1LB Bread Maker Machine with Homemade Cycle - Stainless Steel Breadmaker with Recipes Whole Wheat Bread Making Machine |
|
| 10 | 2LB Bread Maker Machine, OSIPOTO 17 in 1 Automatic Stainless Steel Bread Machine, Non-stick, Beginner-Friendly Controls, 15 Hour Timer, Easy to Clean Low Noise, High Success Rate for Homemade Bread |
|
First, ensure your bread machine pan is clean and the kneading paddle is correctly inserted. Most bread machines have a specific order for adding ingredients – typically liquids first, followed by dry ingredients, with yeast placed last, often in a small well made in the flour. This separation prevents the yeast from prematurely interacting with salt or too much liquid, which can hinder its activation.
Setting the Dough Cycle
Once all ingredients are added according to your manufacturer’s instructions, select the “Dough” cycle on your bread machine. This cycle is specifically designed to mix, knead, and allow the dough to complete its first rise, usually lasting between 1.5 to 2.5 hours depending on your machine.
Monitoring Dough Consistency
After about 5-10 minutes of mixing, it’s beneficial to check the dough’s consistency. It should form a smooth, soft ball that pulls away cleanly from the sides of the pan, feeling slightly tacky but not overly sticky. If it appears too dry, add a tablespoon of warm water at a time; if too wet, add a tablespoon of flour until the desired consistency is achieved. Avoid making the dough too stiff, as naan thrives on softness.
Post-Cycle Handling
Once the dough cycle completes, the dough will have doubled in size. Carefully remove the risen dough from the bread machine pan onto a lightly floured surface. At this point, the dough is ready for shaping and cooking. If you’re not cooking immediately, you can lightly oil the dough, place it in an airtight container, and refrigerate it for a few hours or even overnight, allowing flavors to deepen.
Crafting and Cooking Your Naan to Perfection
With your dough perfectly prepared by the bread machine, the next exciting step is to shape and cook your naan. This is where you transform the soft dough into those wonderfully bubbly, slightly charred flatbreads.
Dividing and Shaping the Dough
Gently punch down the risen dough to release the air. Divide the dough into equal portions—typically 6-10 pieces, depending on your desired naan size. Roll each piece into a smooth ball. On a lightly floured surface, use a rolling pin to flatten each ball into an oval or teardrop shape, about 1/8 to 1/4 inch thick. Don’t worry about achieving perfect uniformity; irregular shapes add to the homemade charm. Allow the shaped pieces to rest for 5-10 minutes, which helps them puff up during cooking.
High Heat for Authentic Results
The key to achieving naan’s characteristic texture—puffy with some delightful charring—is high heat.
- Skillet Method: Heat a cast-iron skillet or heavy-bottomed frying pan over medium-high to high heat until it’s very hot, almost smoking. Brush the top of a shaped naan with a little water (this creates steam, helping it puff) and carefully place it, wet-side down, into the hot skillet. Cook for about 1 minute, or until bubbles appear and the bottom is golden brown with some darker spots. Flip the naan, brush the second side with water if desired, and cook for another 30 seconds to 1 minute, until puffed and browned.
- Oven Method: Preheat your oven to its highest setting (around 450-500°F/230-260°C) with a baking stone or inverted baking sheet inside to get scorching hot. Carefully place the rolled naan directly onto the hot surface. It should puff up quickly, usually within 2-3 minutes. You can also briefly place it under the broiler for a few seconds to get extra char, watching it very closely to prevent burning.
- BBQ Method: For an authentic smoky flavor, a hot grill or BBQ also works wonderfully. Place the naan directly on the hot grates, cooking for a minute or two per side until puffed and charred.
Finishing Touches
As each naan comes off the heat, immediately brush it with melted butter or ghee. This adds richness and a beautiful sheen. A sprinkle of fresh chopped cilantro or minced garlic can elevate the flavor even further. Serve immediately for the best experience.
Creative Variations for Your Bread Machine Naan
While plain naan is delicious on its own, your bread machine dough is a fantastic canvas for a variety of flavorful twists.
- Garlic Naan: For a classic favorite, finely mince fresh garlic (about 3 cloves for a batch of dough) and sauté it briefly in a little oil. Add this fried garlic to the bread machine with your other ingredients. Alternatively, brush your cooked naan with garlic butter (melted butter mixed with minced fresh garlic or garlic powder).
- Herb Naan: Incorporate finely chopped fresh herbs like cilantro, parsley, or chives into the dough during the mixing cycle. You can also sprinkle them over the naan before cooking or mix them into your finishing butter.
- Whole Wheat Naan: For a healthier alternative, substitute a portion of the all-purpose flour with whole wheat flour. Start by replacing up to half the all-purpose flour, as whole wheat can result in a denser naan. You might need to adjust the liquid slightly.
- Spicy Naan: Add a pinch of cayenne pepper, red pepper flakes, or a dash of garam masala to the dry ingredients for a naan with a gentle kick.
- Stuffed Naan: For a more adventurous take, roll out the dough, place a small amount of filling (like spiced potato, cheese, or minced meat) in the center, and then gather the edges to seal. Gently re-flatten before cooking.
Troubleshooting Common Naan Issues
Even with a bread machine handling the dough, you might encounter a few common challenges when making naan. Here’s how to address them:
- Dough too sticky or too dry: The bread machine allows for adjustments during the initial mixing phase. If the dough appears too wet and doesn’t form a ball, add flour one tablespoon at a time. If it looks shaggy and dry, add warm water in similar increments. The goal is a soft, pliable, slightly tacky dough.
- Naan not puffing: This can be due to several factors. Ensure your yeast is fresh and active. Your skillet or oven might not be hot enough; high heat is crucial for the sudden expansion that creates those characteristic bubbles. Also, avoid rolling the dough too thin, as it needs some body to puff. A short rest after rolling can also help.
- Naan is burnt on the outside, raw on the inside: This indicates the heat is too high or the cooking time is too long for the temperature. Adjust your stove’s flame or oven temperature. Naan cooks quickly due to its thinness.
- Naan is stiff or hard: An overly stiff dough is the most common culprit. Ensure you’re using enough moisture (yogurt and milk/water) and not too much flour. Over-kneading can also make it tough, but your bread machine’s dough cycle is usually calibrated to prevent this. Resting the dough sufficiently before cooking also helps relax the gluten.
Pairing Naan: More Than Just a Side
Naan is incredibly versatile, extending far beyond its traditional role as a simple side dish. Its soft, absorbent texture makes it perfect for soaking up rich sauces and flavorful gravies.
Traditionally, naan is an indispensable accompaniment to Indian curries, such as chicken tikka masala, butter chicken, or palak paneer. It’s also fantastic for scooping up lentil dahl or various chutneys and raitas.
Beyond its classic pairings, naan can be used creatively in modern cuisine:
- Mini Pizzas: Use naan as a quick and easy base for individual pizzas, topped with your favorite sauce, cheese, and toppings.
- Wraps and Sandwiches: Its pliable nature makes it ideal for wrapping grilled meats, vegetables, or falafel.
- Dipping Bread: Serve it alongside hummus, baba ghanoush, or other dips as a more robust alternative to pita bread.
- Breakfast: Buttered naan with scrambled eggs can make for a delightful morning meal.
Buying Guide: Choosing Your Bread Maker for Naan
If you’re considering a bread maker primarily for dough-making tasks like naan, there are a few factors to keep in mind.
- Dough Cycle: Ensure the machine has a dedicated “Dough” cycle. Most modern bread makers do, but it’s worth checking.
- Capacity: For a family, a 1.5-lb or 2-lb capacity machine is usually sufficient, allowing you to make enough naan dough in one batch.
- Durability and Brand Reputation: Brands like Zojirushi, Panasonic, and Cuisinart are often highly rated for their durability and consistent performance. Reading user reviews can provide insights into specific models.
- Ease of Cleaning: A non-stick bread pan is a significant plus for easy removal of dough and cleanup.
Consider your budget, compare features and prices across different retailers, and always read user reviews to inform your decision. While any bread maker with a dough cycle can assist in making naan, choosing a reputable model will ensure a smoother and more enjoyable experience.
In conclusion, transforming simple ingredients into warm, fluffy naan is an incredibly rewarding culinary journey, made significantly easier by the convenience of a bread maker. By entrusting the kneading and rising to this clever appliance, you free yourself to focus on the art of shaping and cooking, bringing a taste of authentic, homemade flatbread to your table with minimal fuss. So, why not embrace the bread machine revolution and start making your own perfect naan today? What delicious curry or dip will you pair with your first homemade batch?
Frequently Asked Questions
Can a bread machine bake naan bread?
No, a bread machine typically only handles the dough-making process, including mixing, kneading, and the first rise. Naan bread needs to be cooked on a very hot surface like a cast-iron skillet, a grill, or in a preheated oven to achieve its characteristic puffiness and slightly charred exterior.
What kind of yeast should I use for naan in a bread maker?
You can use either active dry yeast or bread machine yeast (instant yeast). Many bread machine recipes are formulated for instant yeast as it doesn’t require prior activation. Always check your specific recipe for recommendations and ensure your yeast is fresh for optimal results.
Why is plain yogurt so important in a naan recipe?
Plain yogurt is a crucial ingredient in naan as it adds tenderness, moisture, and a subtle tangy flavor to the dough. The acidity in yogurt also helps to activate the yeast and break down gluten, resulting in a softer, more pliable naan. Avoid using Greek yogurt as it can be too thick.
Can I make naan dough ahead of time?
Yes, you can make naan dough ahead of time. After the dough cycle in your bread machine is complete, lightly oil the dough, place it in an airtight container, and refrigerate it. It can typically be stored for up to 24-48 hours. Bring it to room temperature for about 30 minutes before shaping and cooking.
What’s the best way to get naan to puff up when cooking?
To get naan to puff, ensure your cooking surface (skillet, grill, or oven stone/sheet) is extremely hot. Brushing the shaped naan with a little water before placing it on the hot surface creates steam, which helps the dough rapidly expand and puff up. Cooking quickly at high heat is key.
